

Social Media Posts: Designing with Adobe
Recently, business owners have shifted to focus more on digital marketing. For instance, they’ve employed social media posts with images as a part of their strategy. It is because visuals are essential for increasing social media engagement. Thus, marketers must elevate their advertising with Adobe!
There has been a constant increase in interest in social media marketing within the last five years. Currently, 56.8% of the world’s total population uses social media, according to Backlinko.
We may attribute this number to people’s ability to access information through social media and other online platforms, not just search engines. With the right keyword, people can discover various things through social networks, such as the following:
- Other people;
- Nearby events;
- Products;
- Services, etc.

Digital marketing teams can utilize psychology in graphic design. You can also hire professional Social Media Marketing Services to create attractive marketing graphics for your posts!
Marketing on Social Media with Images and Graphic Content
Digital marketing allows businesses to reach audiences online. Thus, social media marketing is the process of creating and sharing visual or text content on social networks to achieve marketing goals. It involves posting the following content to drive audience engagement:
- Text posts;
- Image posts;
- Videos, and
- Other media.
Also, you must know how to make different versions of your graphic content. After all, it’s vital to follow the various social media image specifications required by the respective platforms.
What Content to Post on Social Media Platforms:
- For instance, you can create banner ads, covers, and timeline posts for Facebook to increase your following.
- On Instagram, you can post ads and share Stories to keep audiences interested.
- You can upload posts, covers, and banner ads to boost your Twitter campaigns.
- Also, you can post image ads on LinkedIn that reflect your goals and objectives.
- Pinterest also allows you to post beautiful visual content on your account, such as pins and ads.
- Lastly, you can produce a unique YouTube banner to help you stand out from other content creators. Creating relevant video thumbnails attracts your viewers and targets the audience.
With the help of Adobe, you can give your social media profiles, pages, and channels a new and improved look. You can count on professional Social Media Marketing Services for assistance or create your own image post.
To create social media image posts, combine your logo with a great photo. Then, add a formatted text that genuinely reflects your brand image and aligns with your business goals.

Here’s how you can achieve attractive designs with Adobe Photoshop:
A Guide to Creating Social Media Image Posts Using Adobe Photoshop
1. Create a New File
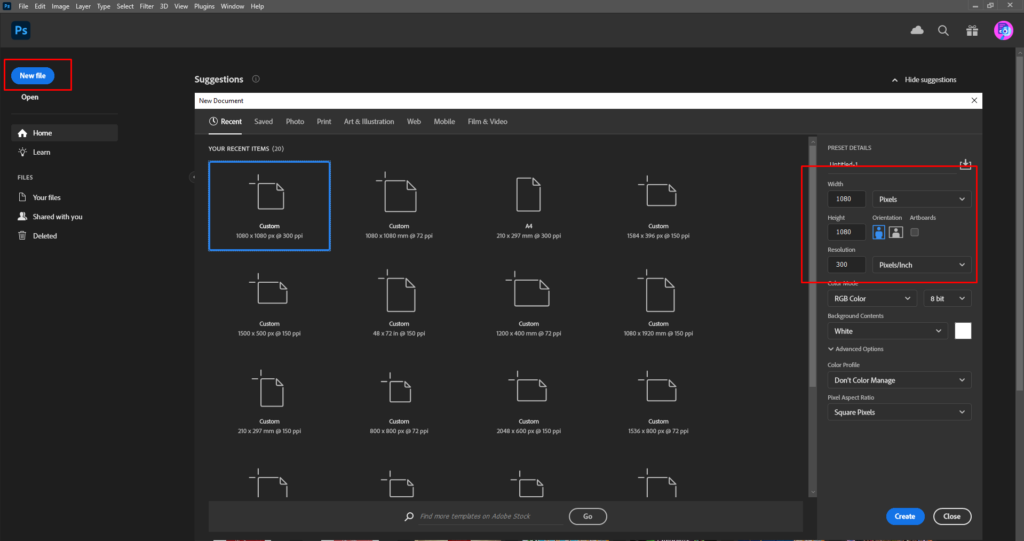
Create a new Photoshop file by heading to the File menu and selecting New File. Afterward, a dialog box will appear and will let you determine the following aspects of the document:
- File name;
- Size;
- Measurement unit;
- Color mode, and
- Page orientation.
You can choose to use any of the presets available or manually input specified values as you wish. However, it’s best to set your dimensions or size based on the platform of your choice. Additionally, you must determine the number of artboards or pages you want in the document.
Lastly, enter your filename; you can modify it later when saving it.
2. Add Image
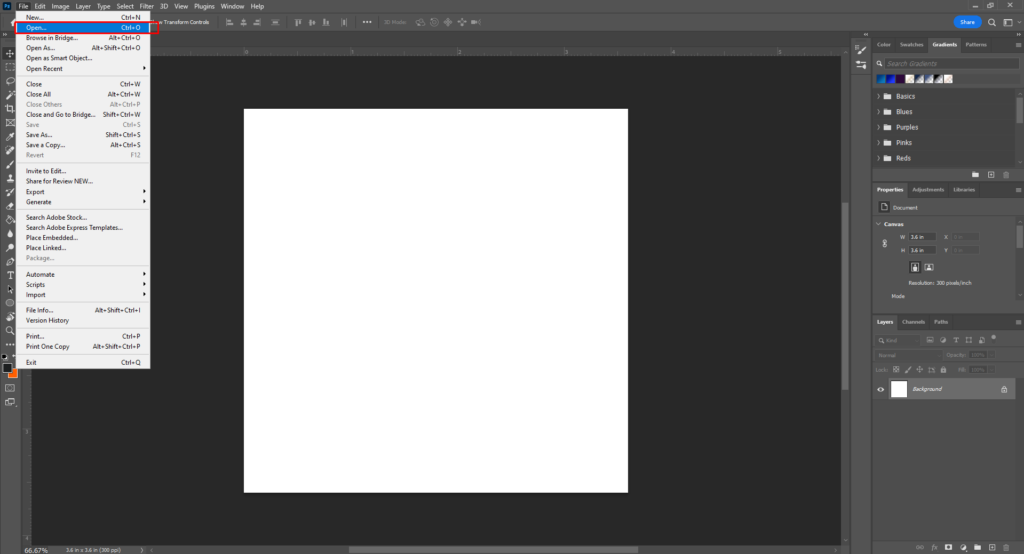
Click the File option, then Open to add your image to a new Photoshop document. Then, select your desired file (vectors, icons, logos) from your directory.
Alternatively, you can copy an image from a Photoshop file and paste it on an existing one. First, open both files, copy the desired layer or area, and then paste it into the other file.
Otherwise, you can drag and drop your desired image onto the Photoshop workspace. Also, you can adjust its position, size, lighting, and colors.
Bonus: Add Logo
Consistent branding boosts revenue, according to Forbes. In addition, companies that use logos on their social media platforms have a “13% growth in brand awareness.”
Thus, it’s vital to personalize your social media banners, advertisements, and other image postings with your brand’s logo. Social Media Marketing Services can apply branding to ensure design consistency on marketing materials!
To add the logo to your design, utilize the steps to add images, but select the logo from your file library. You should also add overlays to your image to apply specific effects that blend well with your overall design.
Moreover, you can spice up the design with a shape overlay using existing shapes from the toolbar. Or, you can create a custom overlay to fit the image using the Pen tool.
Through effective branding, your customers will immediately notice your company’s advertising materials.
3. Add Text
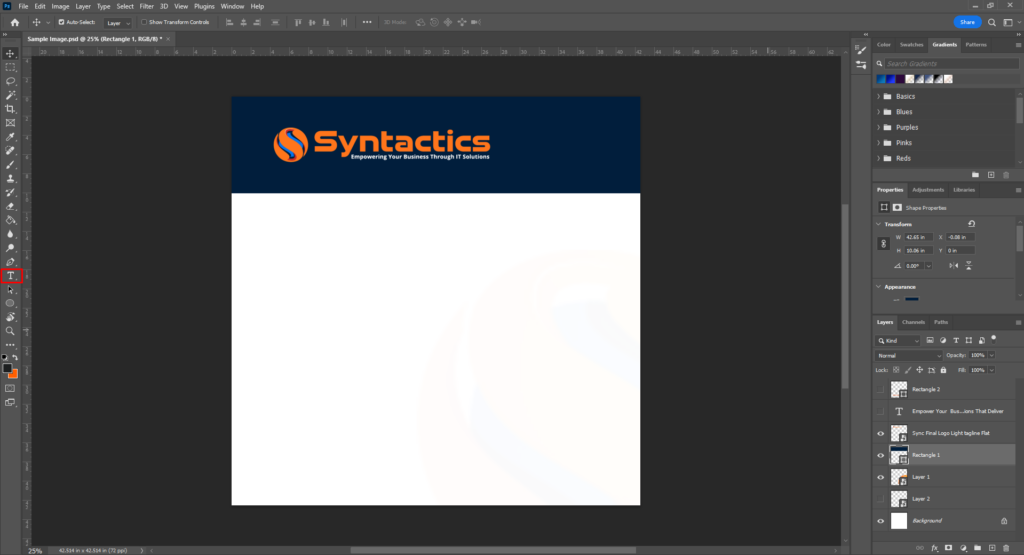
To add copy to your social media images or posts, select the Text tool from the menu. To reposition the text, you can drag it to the desired area. Also, you can format it by adjusting the following:
- Font family
- Font size
- Weight
- Width
- Spacing
- Text color, etc.
Make sure to select fonts, sizes, and colors that align with your business’ branding or message! Additionally, ensure readability and consider the hierarchy of information. Lastly, don’t forget to add a catchy and compelling call to action in your text. Check out some commonly used CTAs here and start creating your own.

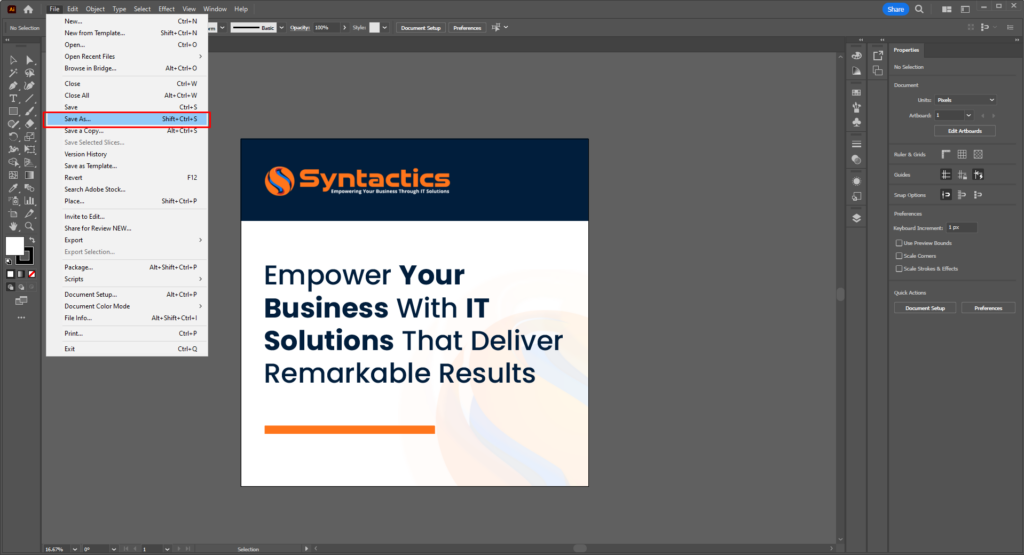
4. Save File
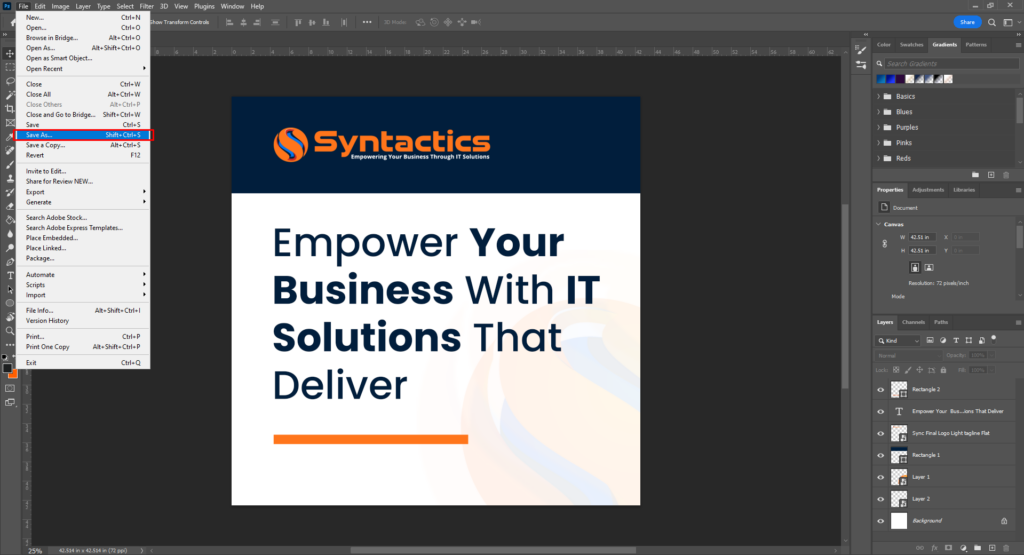
Once you’re already satisfied with your post design, you can save your project.
To save your design, head to the File menu, select Save As, and choose where to store the file. Then, from the Format menu, choose the format type and click Save. (If saving changes after the initial Save As, you can use the regular Save command.)
Naturally, you can save your file in a PSD format to make it an editable template for future use. In addition, Adobe Photoshop lets you export your final design as an image file such as PNG or JPEG. Learn more about the different file-saving options in Adobe Photoshop here.
If you favor Adobe Illustrator or want to avail a reliable graphic design services, here’s how you can craft attractive post designs:
A Guide to Creating Social Media Image Posts Using Adobe Illustrator
1. Create a New File
To create an image post for social media, you must settle on the platform or platforms you intend to use. It’ll contribute to the size or dimensions and other aspects of the Illustrator document.
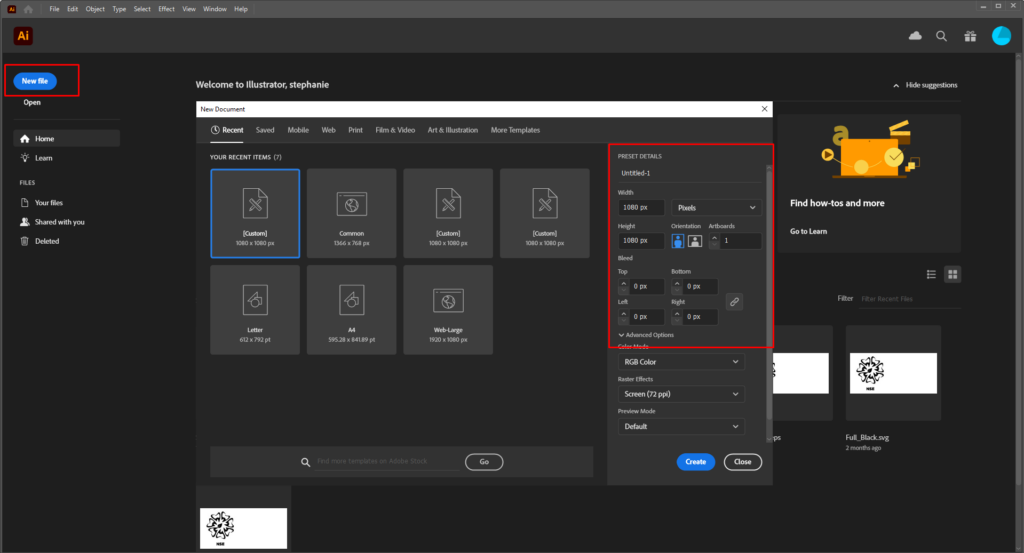
Firstly, go to File in the toolbar and click New in the dropdown menu. A dialog box for setting the image size will appear. In addition, you can set the following:
- Bleed (top, bottom, left, and right)
- Color mode
- Raster effects
- Preview mode
2. Add Image
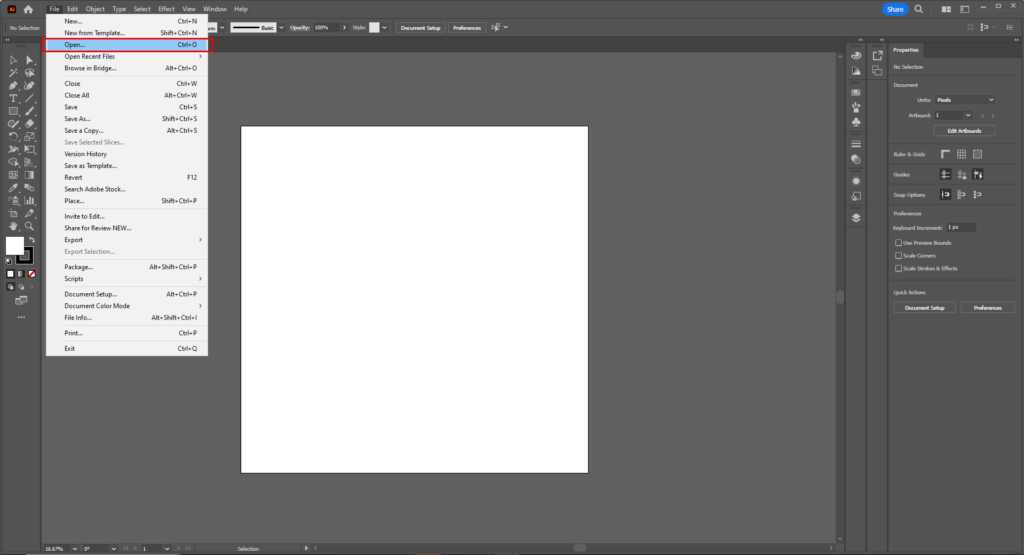
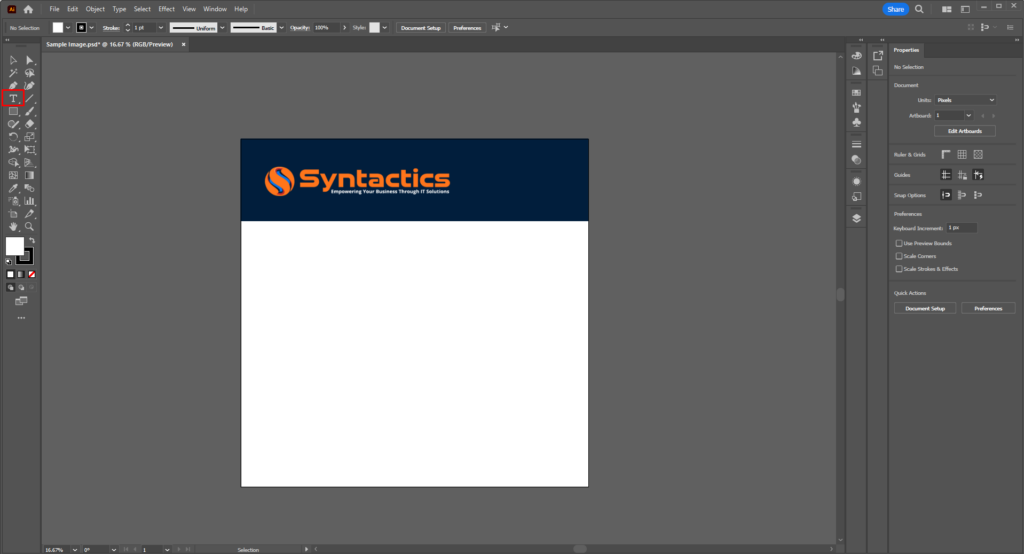
You can add your image through the Place option. Click File from the Illustrator toolbar, then select Place from the menu. A popup box for files will appear, so choose the desired file and left-click or select the area you want to set the image down. The picture will show up on the selected workspace area.
You can drag and drop your intended image on the Adobe Illustrator workspace like Photoshop. After setting it on the workspace, you can move it around and adjust the size. Adobe Illustrator also allows you to copy and paste images from other programs, such as Adobe Photoshop, and vice versa.
Don’t forget to add your logos for greater brand recognition!

3. Add Text
To enhance layouts via Adobe Illustrator, select Text to add your social media image copy. The Text tool is vital for social media image designs, so you must select typography that adds to your posts’ visual appeal. Expert Social Media Marketing Services will consider the font types, sizes, colors, and spacing in line with your brand messages!
Lastly, drag text to the best areas within the layout, ensure readability, and add a CTA. If you’re unsure, you can get help from trusted and professional content services.
4. Save File
After you’ve designed your social media post, you can save it as an Illustrator file or AI if you intend to make more edits. However, you can also export the design as a PNG or JPEG.
From the File toolbar, click Save (if you’ve saved the file previously) or Save As (if you’re saving for the first time or a new version). Next, you must select where to store the file and what format type to save in.
Get Social Media Marketing Services that Work!
Businesses must continuously achieve success in the digital age by building their brand and targeting the ideal customers. In addition, it’s best to boost your sales through professional social media marketing services, such as those from the Philippines.
So, start creating compelling banner ads and social media posts using Adobe Photoshop or Illustrator now! Fuel your digital marketing campaigns and actualize your business goals. Don’t let your competitors get all the attention!
About Jalou Batilong
Most every great writer is a voracious reader, and no word describes Jalou better. Jalou enjoys a good read whenever she has the time to sit down and open a book or browse for interesting articles. It's through reading that she is able to digest information so easily, and write her own unique piece of information to share to everyone else.
- Find more about me on:


About Jalou Batilong
-
Find more about me on:
Related News:

Choosing The Best Web Hosting Plan For Your Website


Comment 0